AiPiRacer - AI-Trainiertes Raspberry Pi Racecar
Einleitung
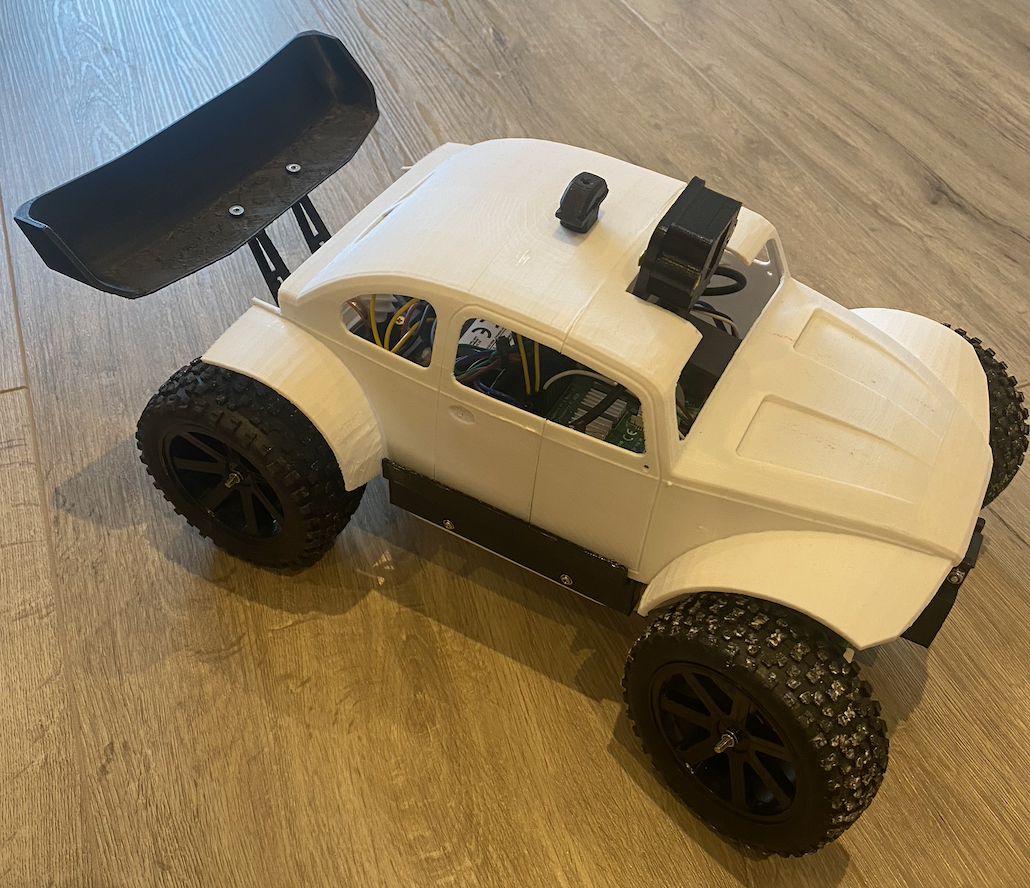
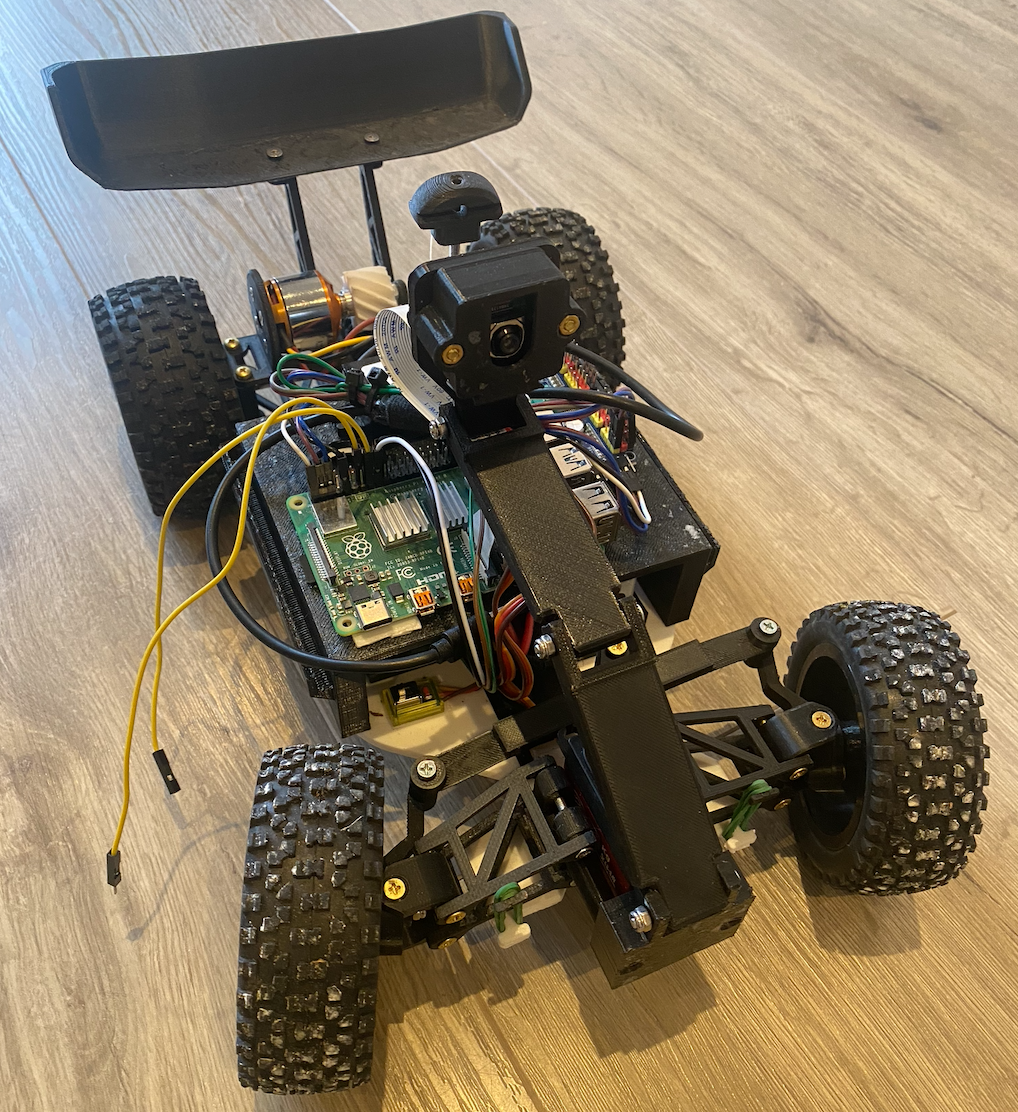
Der Ai-Pi-Racer-Bug ist ein KI-gesteuertes Rennauto, das mit einem Raspberry Pi betrieben wird. In diesem Guide erfährst du, wie du dein Raspberry Pi OS 64 Lite vorbereitest und DonkeyCar installierst, um dein AI-Racecar zum Laufen zu bringen.
Weitere Informationen findest du in der offiziellen DonkeyCar-Dokumentation: docs.donkeycar.com
Raspberry Pi OS 64 Lite Flashen & Vorbereiten
-
Lade Raspberry Pi OS 64 Lite herunter:
Download Raspberry Pi OS Lite (64-bit) - Flashe das Image mit Raspberry Pi Imager:
- Wähle „Raspberry Pi OS Lite (64-bit)“
- Setze den Hostnamen & SSH-Zugang für die Remote-Steuerung
- Flashe das Image auf die microSD-Karte
- Starte den Raspberry Pi und verbinde dich per SSH:
ssh pi@<DEINE_PI_IP> - System aktualisieren:
sudo apt update && sudo apt full-upgrade -y
Installation von DonkeyCar auf Raspberry Pi OS 64 Lite
Notwendige Pakete installieren
sudo apt -y install pip git
sudo apt install -y python3-picamera2
sudo apt install -y python3-pyqt5 python3-opengl
sudo apt install -y python3-opencv
sudo apt install -y opencv-data
sudo apt-get install python3-picamera2
sudo apt-get install libcamera-dev libcamera-apps python3-picamera2
Virtuelle Umgebung (VENV) erstellen
python3 -m venv env --system-site-packages
Automatische Aktivierung der Umgebung:
echo "source ~/env/bin/activate" >> ~/.bashrc
source ~/.bashrc
Treiber installieren
sudo apt install libcap-dev libhdf5-dev libhdf5-serial-dev
DonkeyCar installieren
pip install donkeycar[pi]
Raspi-Config
sudo raspi-config
I2C Unterstützung einrichten
sudo apt-get update
sudo apt-get install i2c-tools
sudo apt-get install python3-smbus
sudo i2cdetect -y 1
DonkeyCar-Projekt erstellen
donkey createcar --path ~/myCar
GPIO & Steuerung einrichten
GPIO-Daemon starten & beim Boot aktivieren
sudo pigpiod
ps aux | grep pigpiod
sudo apt-get install pigpio python3-pigpio
Tastatureingabe aktivieren
pip install pynput
Stop recording Knopf in manage.py
import RPi.GPIO as GPIO
import pigpio
import time

# Define the name of the process (e.g., DonkeyCar)
process_name = "manage.py"  # Replace with the actual process name (e.g., "manage.py" for DonkeyCar)

BUTTON_GPIO = 22

# Initialize pigpio
pi = pigpio.pi()
if not pi.connected:
    exit()

# Callback function to stop recording or perform actions
def button_pressed_callback(gpio, level, tick):
    print("Button pressed! Stopping recording...")
    try:
        pid = int(subprocess.check_output(["pgrep", "-f", process_name]).strip())
        print(f"Found process {process_name} with PID {pid}")

        # SIGINT = Simulate Ctrl+C
        os.kill(pid, signal.SIGINT)
        print(f"Sent SIGINT to process {process_name} with PID {pid}")

    except subprocess.CalledProcessError:
        print(f"No running process found with name {process_name}")

# Set up the GPIO pin mode
pi.set_mode(BUTTON_GPIO, pigpio.INPUT)
pi.set_pull_up_down(BUTTON_GPIO, pigpio.PUD_UP)

# Set up the button press detection
pi.callback(BUTTON_GPIO, pigpio.FALLING_EDGE, button_pressed_callback)
Add pigpiod to .bashrc:
echo "sudo pigpiod" >> ~/.bashrc
Then, reload:
source ~/.bashrc
Check if it’s running:
systemctl status pigpiod
DonkeyCar starten
cd ~/myCar
python manage.py drive
Einfaches start.py-Skript, das den Befehl python manage.py drive ausführt:
#!/usr/bin/env python3
import subprocess

def main():
    # Führt den Befehl "python manage.py drive" aus
    subprocess.run(["python", "manage.py", "drive"])

if __name__ == '__main__':
    main()
Einfaches ai-start.py-Skript, das den Racer mit dem ai model ausführt:
#!/usr/bin/env python3
import subprocess

def main():
    # Führt den Befehl "python manage.py drive --type tflite_linear --model models/model1.tflite" aus
    subprocess.run(["python", "manage.py", "drive", "--type", "tflite_linear", "--model", "models/model1.tflite"])

if __name__ == '__main__':
    main()
Fazit
Mit dieser Anleitung ist dein Ai-Pi-Racer bereit für die ersten Tests. 🚀 Falls du weitere Anpassungen oder Sensoren hinzufügen möchtest, kannst du die Konfiguration nach Belieben erweitern. Viel Erfolg beim Fahren! 🎉