HASSIO - Touch display station on Pi3
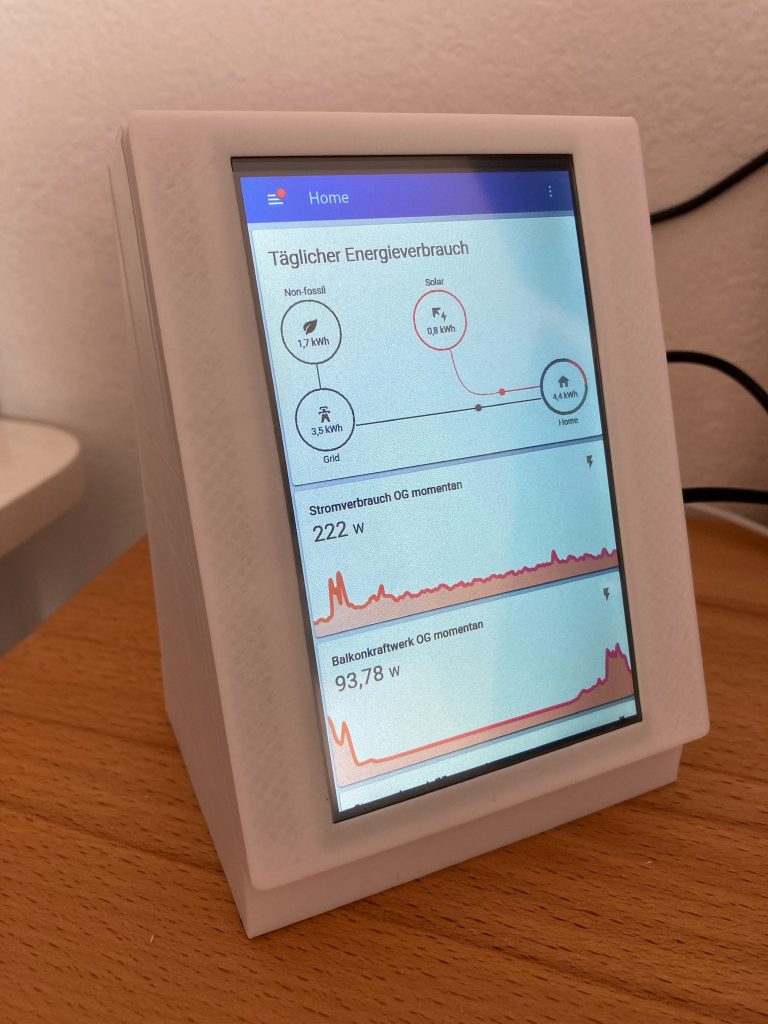
In order to make the daily electricity consumption for the family visible, I built a small home assistant monitor.
Since I still had an old Raspberry Pi 3 + Kuman Touch Display brought around, the idea was implemented quickly.
Most of the work on this project was the 3D printer case. I found various housings at thingiverse, but none of them were upright. I redesigned an existing project from Thingiverse for my purposes, but the picture currently only shows a prototype which I am very happy with.
Hardware required for commissioning
- Raspberry Pi 3 Model B
- Kuman For Raspberry Pi display 5 inch Resistive Touch Screen
- 3D Printer for printing case
- USB C power supply ( min 2.5A )
Required software
- Raspberry Pi OS with desktop
- PrusaSlicer or Cura for 3D Printer
- SD Formatter
- BelenaEtcher
3D printer housing
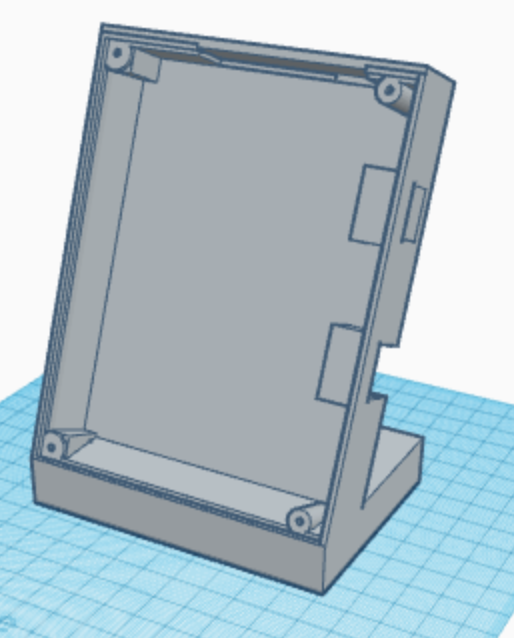
This is my first draft of a 3D printer case based on an existing project from Thingiverse.
I’m still trying to find time to familiarize myself with OpenSCAD. At the moment I am creating new or working on existing projects with the help of Tinkercad. I am currently assuming that it will take longer to become familiar with OpenSCAD in order to design complex models.
Software setup of Raspberry Pi OS
The first steps on how to get a Raspberry Pi OS image on an SD card can be found quickly via google. I use the SD formatter to format the SD card and the BelenaEtcher program to write the image onto the SD card.
After the image has been flashed on the SD card, the standard settings in the Linux operating system are configured such as network, language, keyboard layout, etc. Then you will be asked whether the Linux system should be brought up to date.
The 5 inch display will probably already work with the Raspberry Pi 3, but without the touch screen function. The correct drivers have to be installed for this to work. Here are the steps that need to be taken in order for the touchscreen to function properly:
- Install Raspberry Pi OS official mirror
- Clone repo from GitHub to your pi
- sudo rm -rf LCD-show
- git clone https://github.com/goodtft/LCD-show.git
- chmod -R 755 LCD-show
- cd LCD-show/
- Step3, According to your LCD’s type, excute:
- In case of 5″ LCD
- sudo ./LCD5-show
- If you need to switch back to the traditional HDMI display
- sudo ./LCD-hdmi
- In case of 5″ LCD
- Wait a few minutes,the system will restart automatically, enjoy with your LCD
- Rotate LCD display
- ./rotate.sh 270
Since the display is now running and rotated with the correct drivers, we can focus on the Chrome Kiosk mode. For this I found another blog that describes these steps really well and in great detail. Therefore I will save myself a new description. Here is an example code for the auto start:
# Mauszeiger Ausblenden
@unclutter

# Bildschirmschoner ausschalten
#@xscreensaver -no-splash
@xset s off
@xset -dpms
@xset s noblank

# Startet im Vollbild und im Inkognito Modus, ohne Adressleiste und Knöpfe und ohne die Möglichkeit den Vollbildmodus mit F11 zu deaktivieren
@chromium-browser --incognito --disable-notifications --kiosk http://homeassistant.local:8123/lovelace/0

# Oder (dementsprechend aus kommentieren)

# Startet im Vollbildmodus, ohne Adressleiste und Knöpfe und im Inkognito Modus.
#@chromium-browser --incognito --start-fullscreen http://homeassistant.local:8123/lovelace/0
Software setup Home Assistant
After the repeated failure of Chrome to persistently write the login data for Home Assistant, I came across a page that says this is wanted. The only remedy is to specify the Raspberry Pi’s IP address as a trusted network under /config/configuration.yaml. Here is a code snipped of my configuration.yaml:
# Beginning of configuration.yaml
homeassistant:
  name: homeAssistant
  auth_providers:
    - type: trusted_networks
      trusted_networks:
        - 192.168.178.XX
        - 127.0.0.1
        - ::1
      allow_bypass_login: true
    - type: homeassistant

# Configure a default setup of Home Assistant
...
...
Ready to start
Now everything should start automatically after the power supply is plugged in. If this is not the case, I have probably forgotten something in my description. If so, drop me a line.