Cheap Arduino Nano v3 - Relais control via GUI
Control of a relay module using an Arduino Nano v3
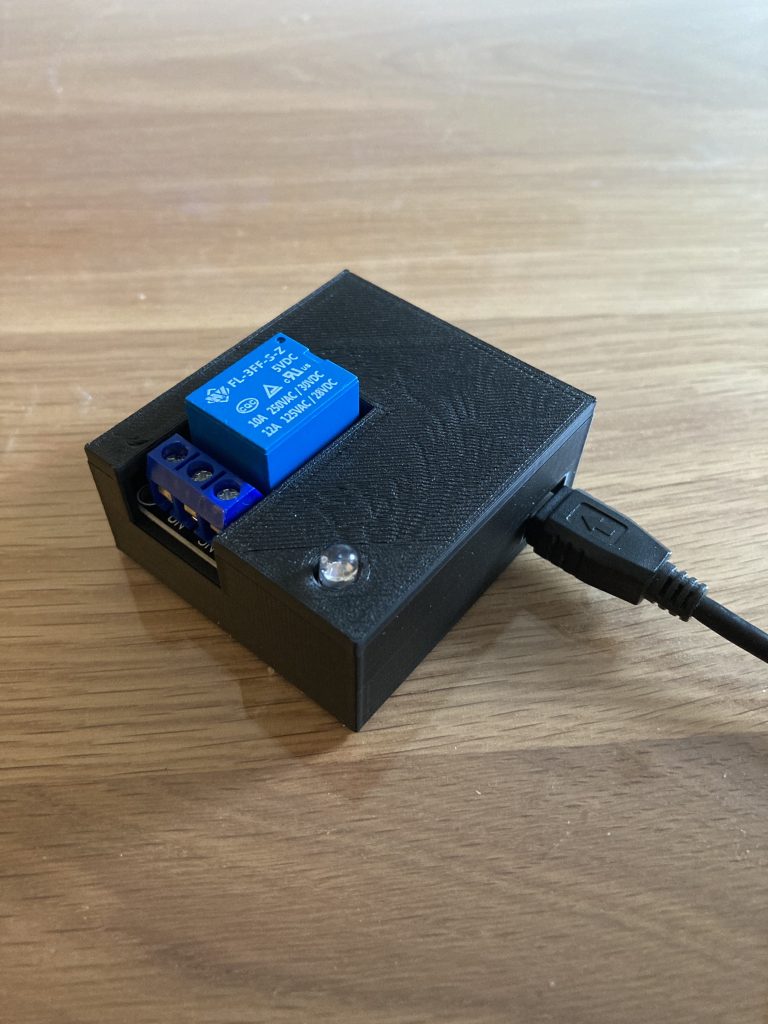
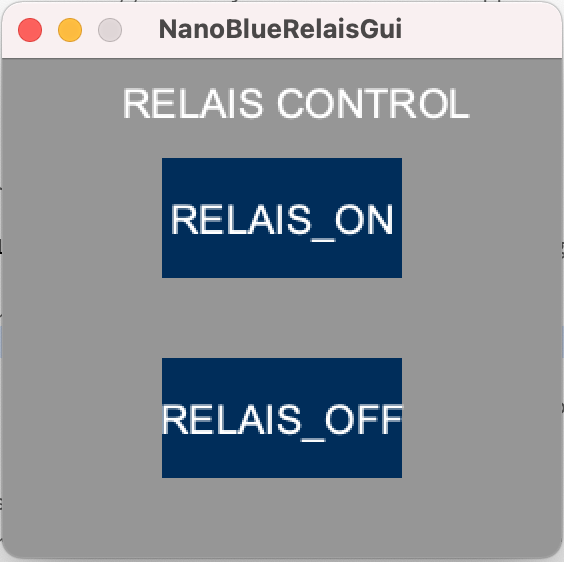
Since I have to reset my work hardware or switch the voltage several times a day from home office, I built a small circuit from an old Arduino Nano v3 and a relay module that enables me to do this. Since I found it awkward to start the relay every time via the Arduino IDE with the serial monitor, I also wrote a GUI that can be executed using JAVA JDK for easy handling.
Hardware required
- Arduino Nano v3
- Relais Modul
- RGB LED (not needed)
- Single Wires
- Solder stuff
- 3D Printed case
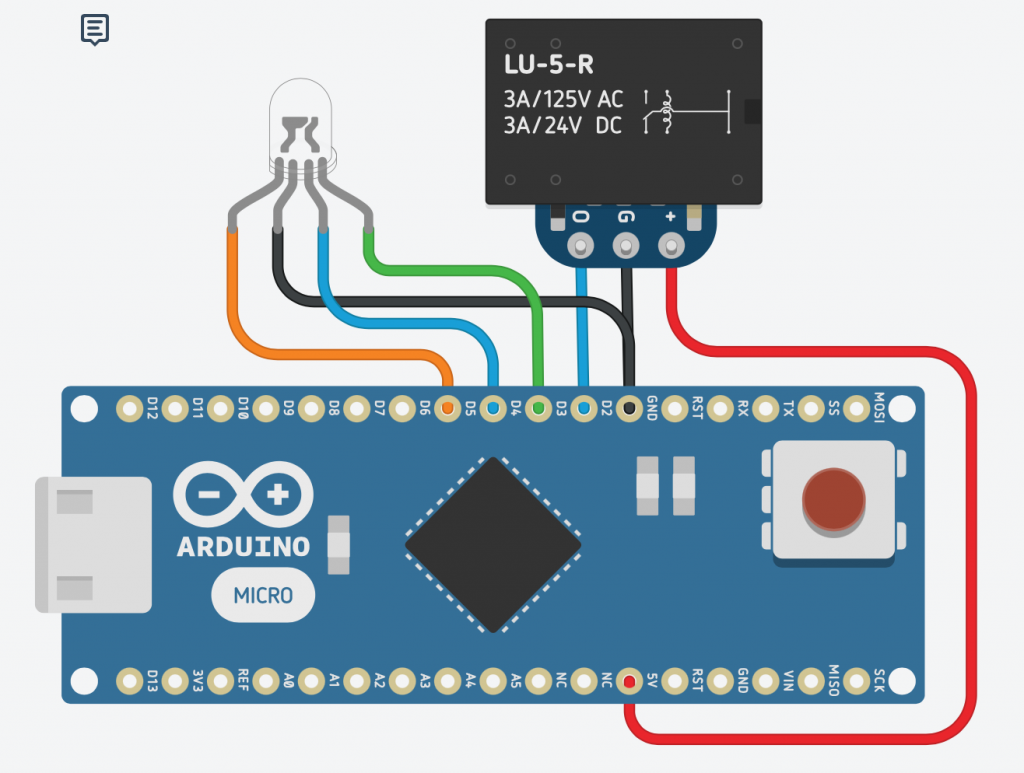
Schematics
Code
Code for Arduino IDE which worked with the attached GUI.
#define LEDR 8     // red
#define LEDG 9     // green
#define LEDB 10    // blue
#define RELAIS 11  // relais

void setup() {

  // set LED's pin to output mode
  pinMode(LEDR, OUTPUT);
  pinMode(LEDG, OUTPUT);
  pinMode(LEDB, OUTPUT);
  pinMode(RELAIS, OUTPUT);

  Serial.begin(9600);          //start serial communication @9600 bps
}

void loop(){

  if(Serial.available()){      //id data is available to read

    char val = Serial.read();

    if(val == 'b'){             //if b received
      digitalWrite(11, HIGH);   //turn on relais
      digitalWrite(10, HIGH);   //turn on green led
    }
    if(val == 'f'){            //if f received
      digitalWrite(11, LOW);    //turn off all led
      digitalWrite(10, LOW);
    }
  }
}
Processing IDE GUI for MacOS
With Processing IDE it is easy to create a JAVA GUI for Arduino which is running on MAC OS X and Windows. The only think what you have to install additional is the latest JAVA SDK.
3D Printer Settings

Print Settings
- Printer brand: Creality
- Printer: Ender 3 Pro
- Infill:100
- Filament brand: Amazon Basics 3D-Drucker-Filament
- Filament color: black
- Filament material: PLA
Result